Ghostrunner Chapter 4, “The Hacker’s Den,” has a lot of potentially difficult to find collectibles, from Memory Shards to Artifacts, and in this guide, we’re breaking down exactly how to find them all in the game.
How to Get Every Ghostrunner Chapter 4 Collectible
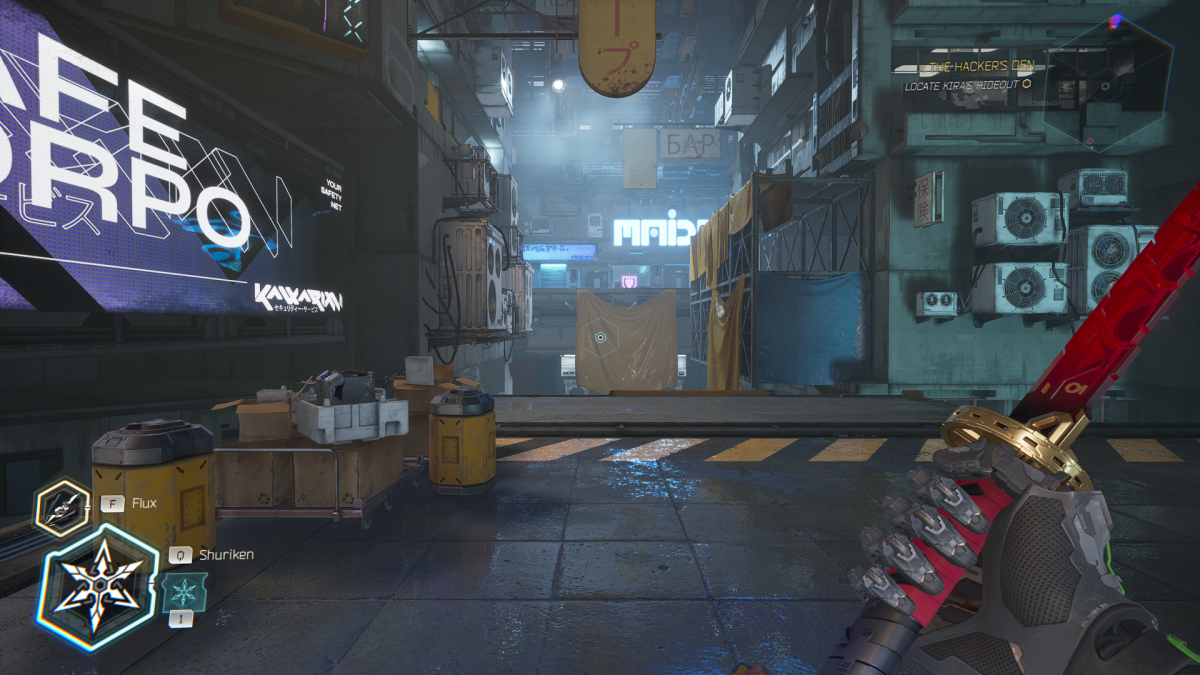
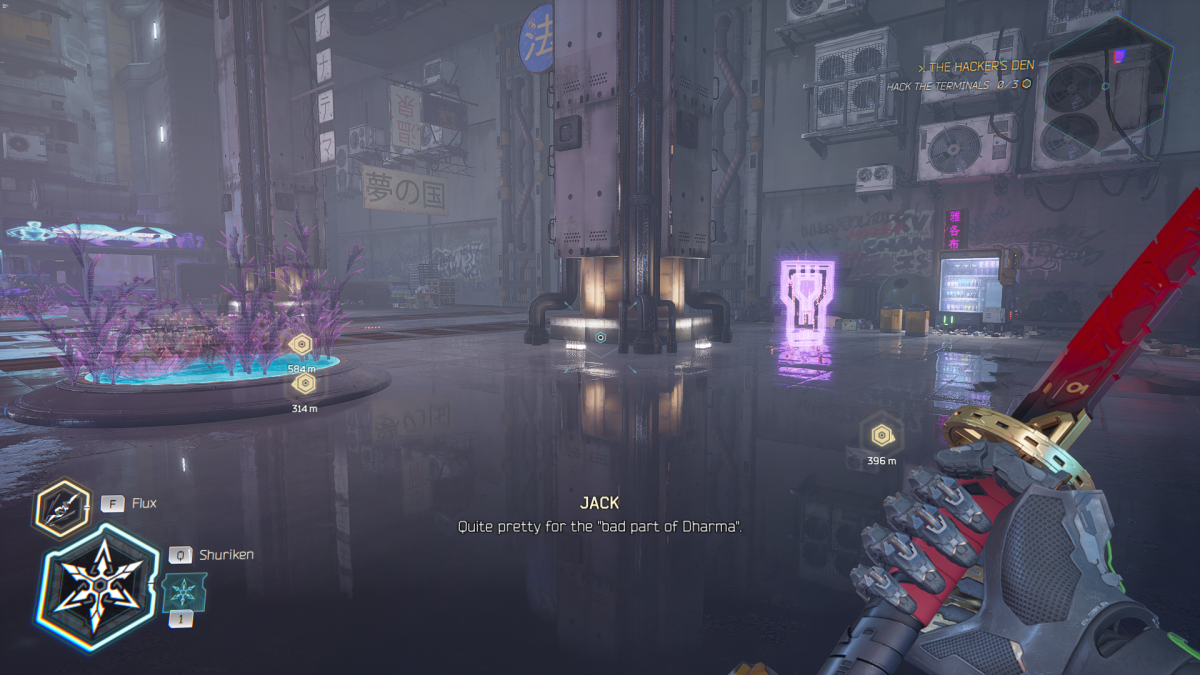
In “The Hacker’s Den,” you’ll be tracking down a series of computer terminals that have been set up by a notorious computer whiz to keep her location a secret. When you’re not looking for those primary objectives, you’ll be scanning environments for 13 collectibles in Ghostrunner 2 Chapter 4. That number consists of eight Memory Shards, three Artifacts and one Audio Log. Since this level is significantly more open that other chapters, it’s entirely possible to loop around and pick up any you might have missed. The order they’re presented in this article simply reflects the order I discovered them.
Related: How to Make Constant Failure Fun in Video Games
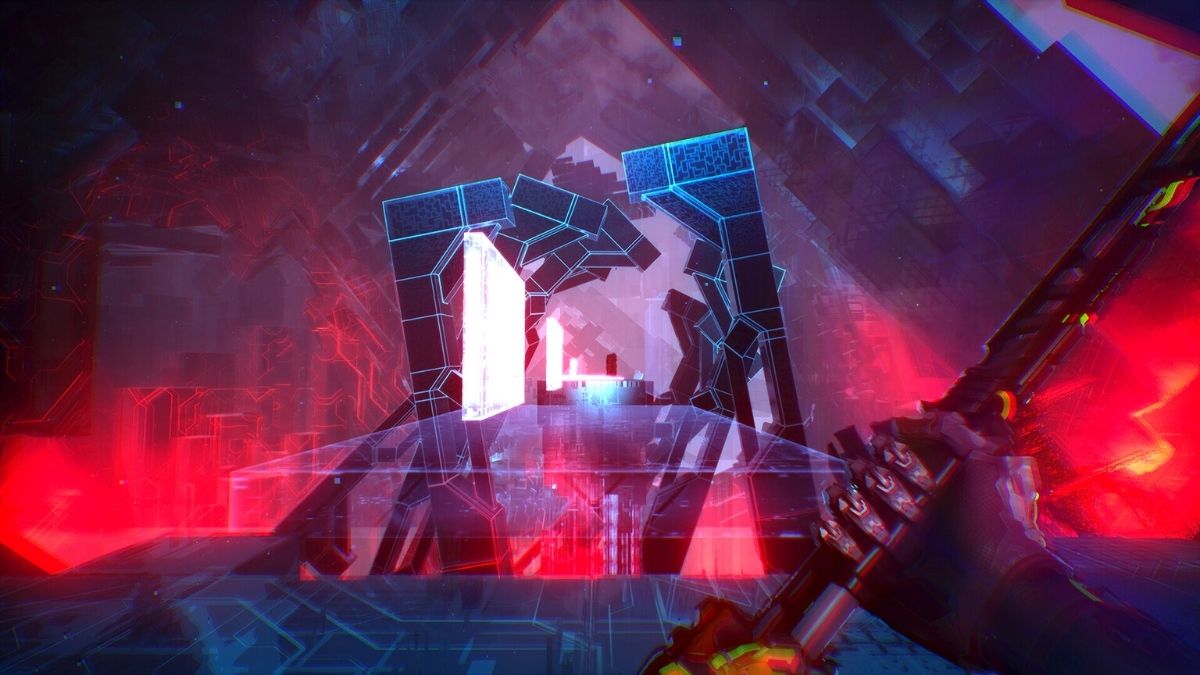
Oh, and just to save you some time and effort, do note that in several places through “The Hacker’s Den,” Jack will interface with a terminal that takes him to a TRON-like computer world. There are no collectibles in any of these locations, so just focus on completing the main objective and clearing out. That said, let’s get started.
Memory Shard #1
The first collectible in Ghostrunner 2 Chapter 4 is a Memory Shard you’ll find fairly close to the start of this level. Just after you encounter (and defeat) the enemy using a hammer that send an electrical wave along the ground, you’ll want to turn right to see a wall covered in a yellow tarp that looks PERFECT for a run. Leap across them and you’ll end up at the end of an alley with your Memory Shard.
Memory Shard #2
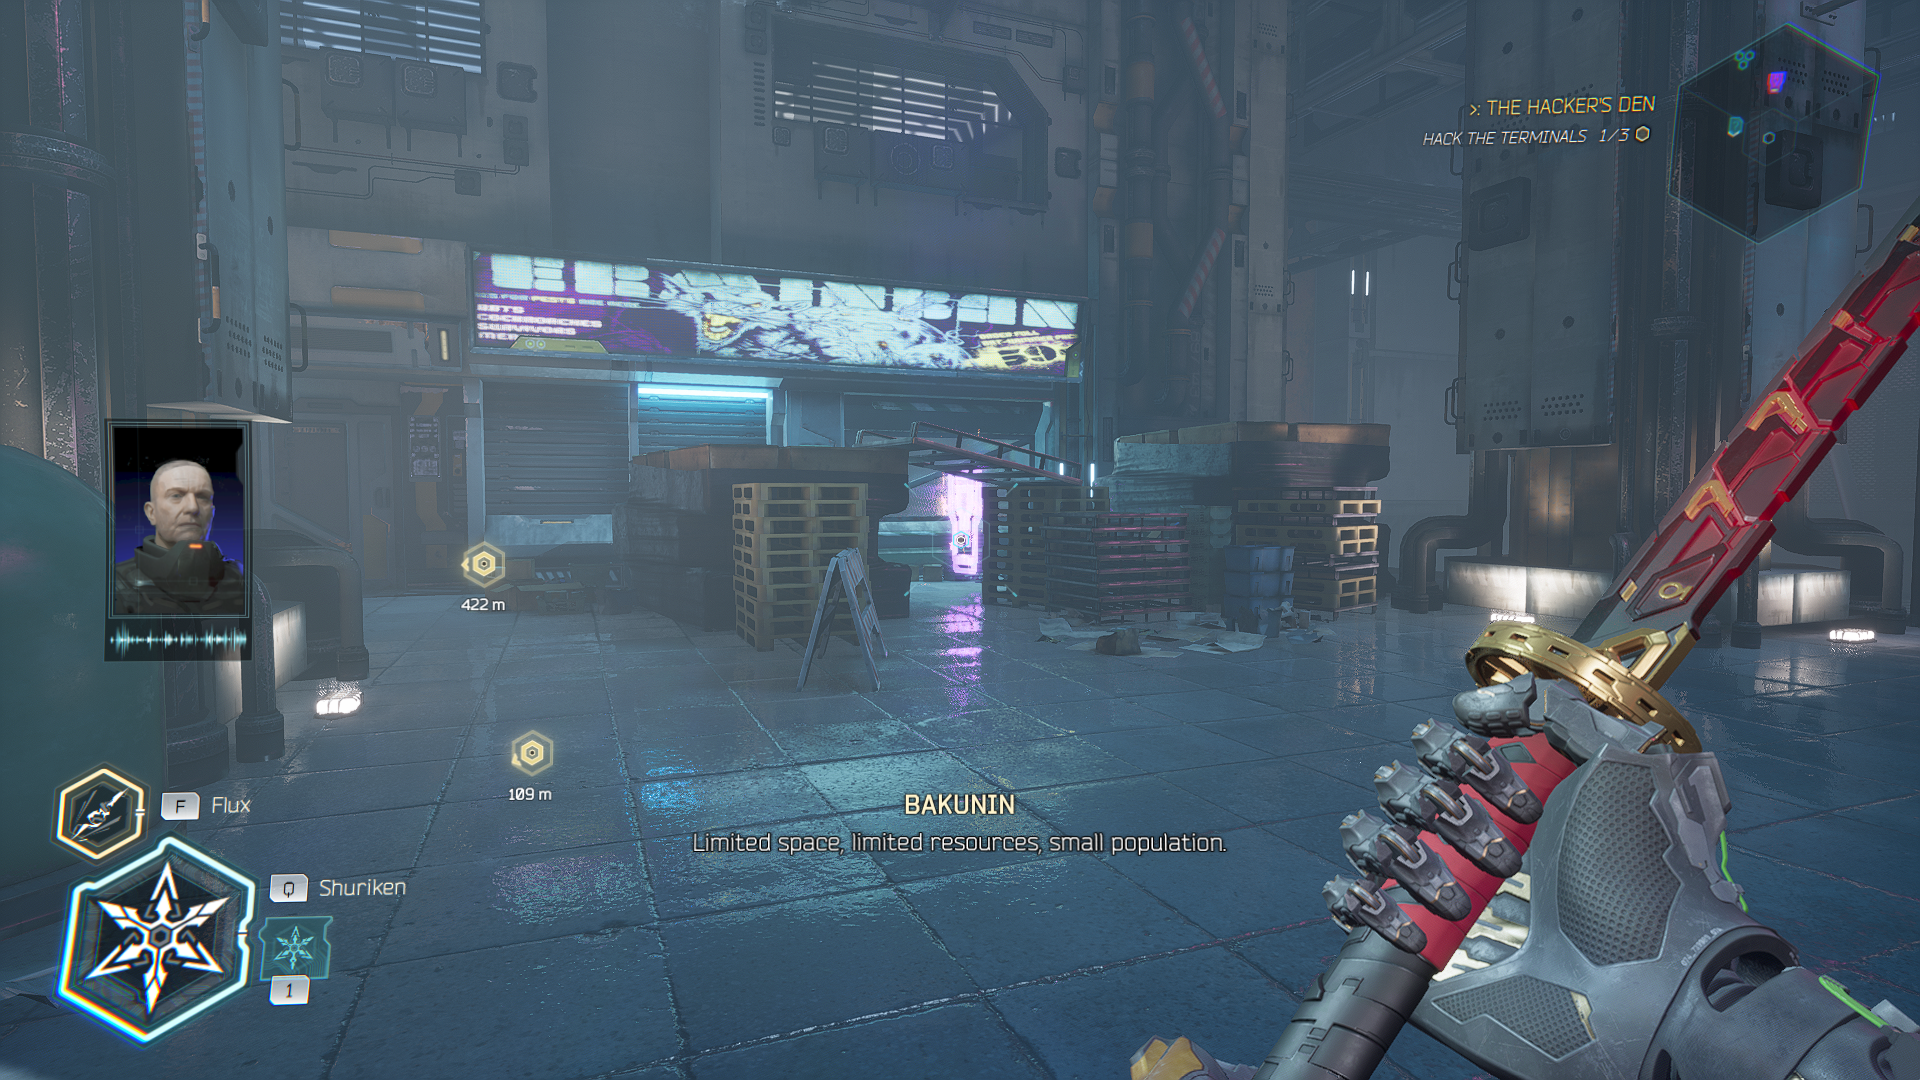
After having a brief conversation with Bakunin about the three terminals you need to shut down, you’ll walk through a massive door with an enemy on the other side. He’ll be protected by what looks like a glowing blue ball of energy. As long as that field is around him, you won’t be able to land a single hit, Throw a shuriken at the sphere and he’ll lose his shield. Once you’ve cut him down, you can look to the left to find the second Memory Shard hiding behind a pillar.
Memory Shard #3
In the very center of the hub, where the two buildings connected by a billboard stand, duck behind the one on the right and follow the ramp down. Once you reach the bottom of the ramp, immediately turn right and look behind you to find this Memory Shard hidden in an alcove.
If you’ve been following along with our guides and completing all the time trial challenges, this Shard should have also upgraded your Motherboard again. This will unlock the Sensory Overdrive Ultimate Ability which effectively gives Jack bullet time: He’ll move at the same speed while enemies grind to a halt. It’s more useful than Flux, I think, so I would recommend swapping them out.
Related: Ghostrunner Is a Tight 3D Platformer and an Iffy Cyberninja Simulator
Side note, if you follow the ramp from this Memory Shard down to your left, you’ll find the time trial challenge of “The Hacker’s Den.” It’s a simple task of making it through a series of checkpoints in the fastest time possible. I highly recommend doing it since grabbing a gold rewards you with thousands of Data and two Memory Shards.

Memory Shard #4
On the upper levels of this section, you’ll be able to use two horizontal beams to swing onto a piece of scaffolding. There should be a breakable grate on your left when you touch down and while that’s important, we want to head to the right. You’ll see the Memory Shard we’re tracking on a platform on which you should easily be able to jump.
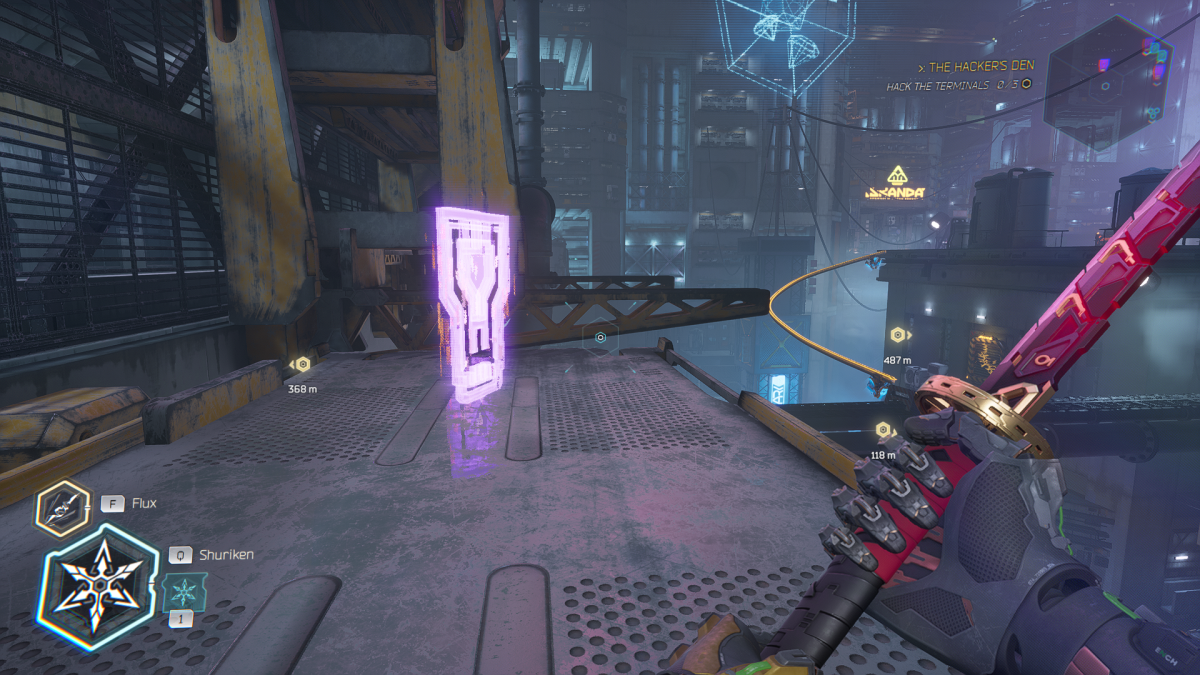
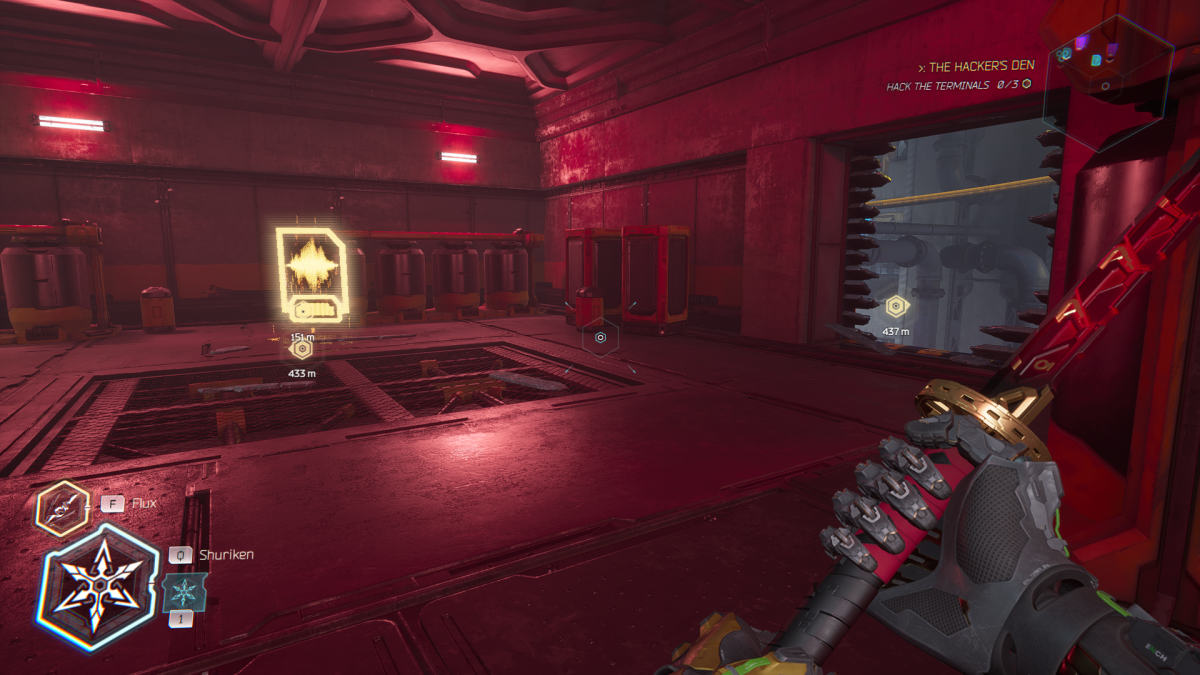
Audio Log
From Memory Shard #5, leap over the two crane-like arms and drop down onto the thin platform in front of you. See the grind rail that curves up and to the right? That’s our target. Specifically, the broken grate on the building is what we’re aiming for. Jump on the rail and ride it until you’re about half-way along. Then dash off to the right. Your momentum should be enough to carry you through the grate but if not, just a swing of the sword will do the trick.
Inside this room you’ll find your Audio Log. Leap out the way you came since there’s no actual exit.
Memory Shard #5
Remember those horizontal poles we swung from earlier? Head back to them, using the vertical fan to launch Jack up onto the catwalk. Now you’ll want to break open the fractured grate. Walk through the opening and you’ll on another catwalk albeit inside of the structure.
Before you jump down, walk to the left and you’ll find a Memory Shard tucked away in a nook. Easy as that.

Memory Shard #6
Back to our old friend the grind rail! From the catwalk, leap on the rail and ride it all the way to the roof. From there, walk to the gap jammer point and launch Jack onto the curved billboard so he can run along it. Once you’ve touched down on another roof top, you should see some crates stack in front of a wall with a yellow tarp draped over the edge. Leap up there and you’ll be confronted by a group of boxes. The Memory Shard is hidden between these containers so just leap up and over to pick it up.
Artefact #1
From the location where you found Memory Shard #6, head back the way you came and drop down the ledge. Now immediately turn around and you should see a massive opening in the wall with “CAUTION” written over it. Obviously, ignore that and head on in, dropping down into a room with this Artefact. It’s a VHS tape! How it survived this long as anyone’s guess. Flip the switch by the entrance to disenage the lasers when you want to leave.
Memory Shard #7
On the left side of the main hub, you should see a yellow billboard that leads to a gap jammer point. Grapple onto it and Jack will land on a grind rail that sends him speed towards another wall of lasers. If you look carefully though, the next Memory Shard is just behind it!
Related: Ghostrunner – Zero Punctuation
Keep cruising on the rail, leaping to the left to avoid the laser before leaping back to the right to pick up the shard. Be sure to change rails again though because if you keep going then you’ll fall in some electrified water, which is terrible for your circuits.

Memory Shard #8
After the grinding session that led up to Memory Shard #7, you’ll eventually land on a platform with a locked door on the right and a bunch of crates on your left. Clamber over the boxes and you’ll find a Memory Shard tucked away from the world’s prying eyes. With that, you’ll have gotten all the Memory Shard collectibles in Ghostrunner 2 Chapter 4.

Artefact #2
Back on the same platform with the crates (and Memory Shard) on the left and the locked door on your left, jump onto the next section of grind rails. Two enemies will be taking shots as you hurtle towards them so either take them down with a shuriken or deflect their projectiles back at them.
The second rail will end in a gap jammer point so grapple onto it and land on the wall in front of you. Run along before jumping to the opposite wall and then again on a third wall. Rather than dismounting from this third wall onto another rail, instead jump off at the last moment and use Focus to adjust Jack’s position in the air, redirecting him to the platform behind. It can be tricky to stick the landing on this one but when you pull it off, you’ll be rewarded with an Artefact of a DIY Toy. Fun!
Artefact #3
Now, back in the central hub, you’ll want to head to the quest marker taking you to the left side of the laser. Once you manage to deactivate the laser wall by throwing a shuriken at an electrical panel from the opposite rooftop, duck into this section and immediately look right. You’ll see a massive chunk of the wall covered with glowing yellow fracture lines. Break through and you’ll be met by a sliding systems of lasers. Wait for a gap and dash into a nook in the middle of the corridor before dashing out once they pass. After you’ve cleared this, you can pick up your Artefact which is a small figurine of Jack!
Those are the locations of all the collectibles in Ghostrunner 2 Chapter 4, and with those done, you can officially move on to the next level safe in the knowledge you’ve gotten everything in this one.